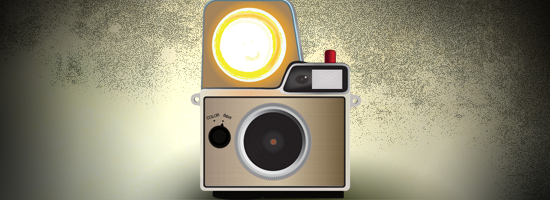
In the conclusion to the tutorial, the main parts of the camera have been completed and most of what is left over is adding details to trick the eye into believing it’s not vector-based. Ready or not, here we go!
Select the Mesh Tool (U), create a Reference Point at the bottom left edge of the red pill shaped object (the clicker button) before the curve. Add another point at the top left after the curve. Along the horizontal mesh line add a point at about 5px to the right and another at about 12px to the right. It should look like a tic tac toe grid.
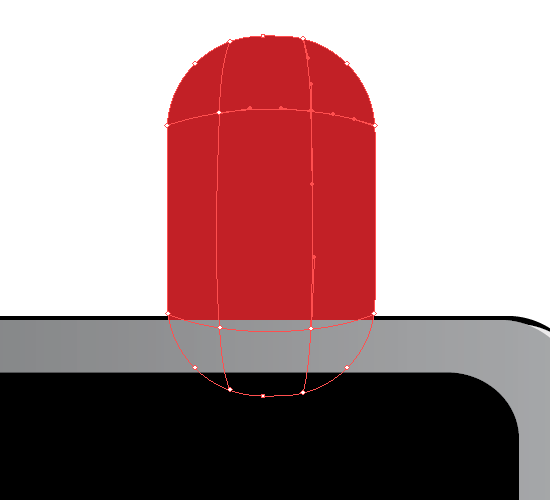
Move the object over to an empty area of the artboard away from the rest of the other shapes. It would make it easier to access the points that way.
Select the Direct Selection Tool (A), Shift+Click each point around the edge of the shape and the two middle points at the bottom of the middle mesh leaving only two of the top middle points unselected. Change the Fill (X) color to #5E051A. This will the the clicker more dimension.
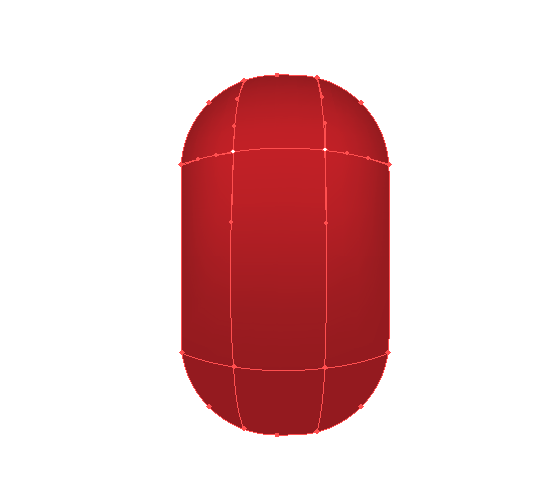
Using the handles, manipulate the depth of the color to fit your preference slightly. The top of the clicker is the the best place to start. Place the clicker shape approximately where it was originally. Ensure that the bottom mesh gradient is peaking out slightly when you are done.
Using the Mesh Tool (U), create points with four rows and three columns on the black slanted rounded rectangular. For references purposes, we will call the same the viewfinder.
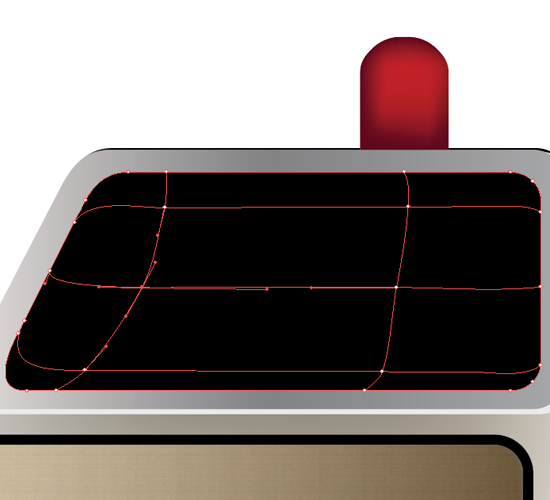
Using the Direct Selection Tool (A), click on the point that is on the first mesh vertical line in the middle of the viewfinder shape. Change the Fill (X) to #444241.
Go down one point, and drag the point to the lower left corner.
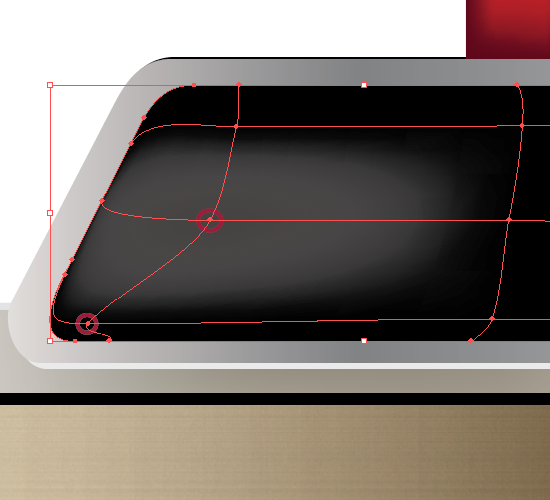
Using the Rectangular Tool (M), create a rectangular that is 75px wide by 47px height. Set the Fill (X) to #9E9E9E.
Open the Swatches panel, and click on the options drop down icon. Choose Open Swatch Library, Patterns, Decorative, and then Modern. A new panel will open with pattern swatches. Drag the pattern named Optical Checkerboard Color to the artboard.
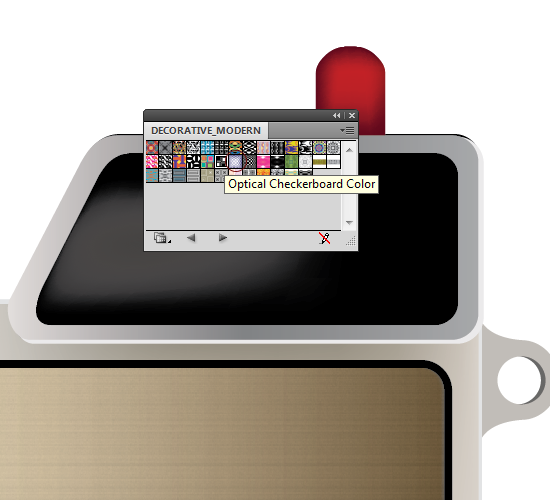
Open the Transform panel to resize the pattern. A width of 75px by 47px height. Place the pattern over the rectangular.
Open the Transparency panel. Set the group Blending Mode to Luminosity and the Opacity to 10%. Group the rectangular with the pattern
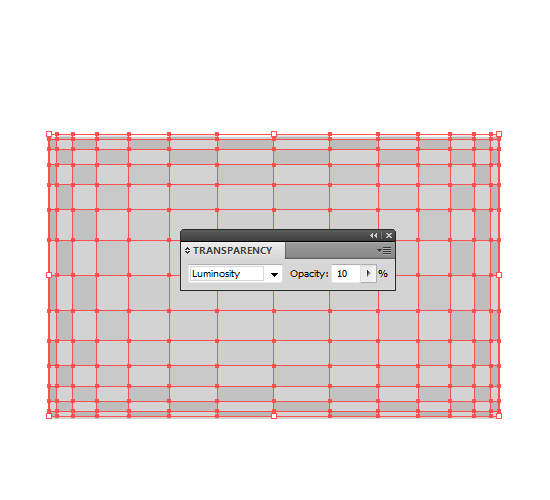
Open the Transform panel. Move the grouped shape X-value to 409px and Y-value to 198.5px.
Create a square that is 47px by 47px. Place it to the left of the grouped pattern. Open up Gradient panel. Create a radial gradient with #1B1513 as the inner color and #6D6E70 as the outer color with the location set at 29%. Open the Transparency panel and set the opacity to 52%.
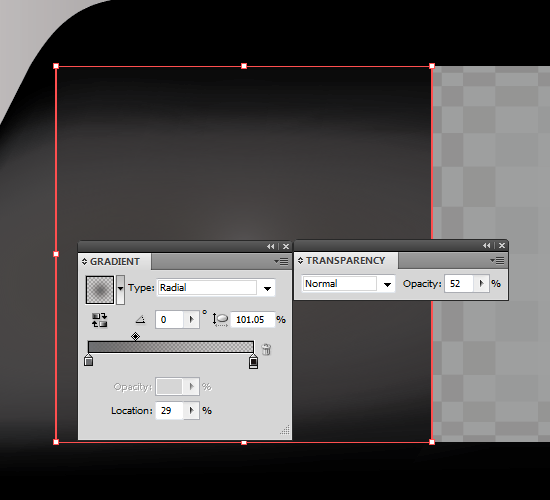
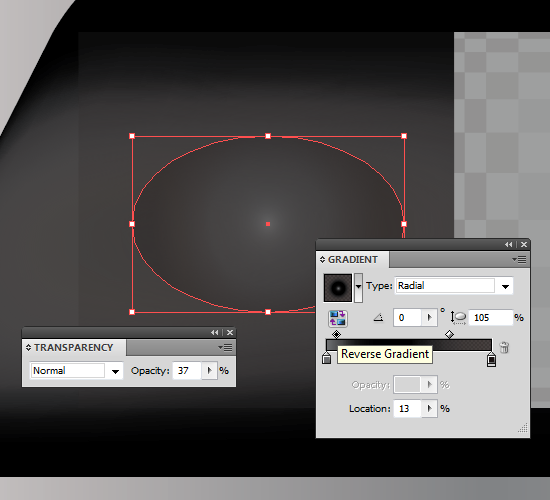
Create a round shape with 34px width by 22px height. Place it in the middle of the transparency box. Open the Gradient panel and create a radial gradient with aspect ratio set at 105%. Set the inner color to #6D6E70, the middle color to #000000, and the outer color to #1B1513. Set the first location to 13% and the second to 50%. Open the Transparency panel and set the opacity to 37%.
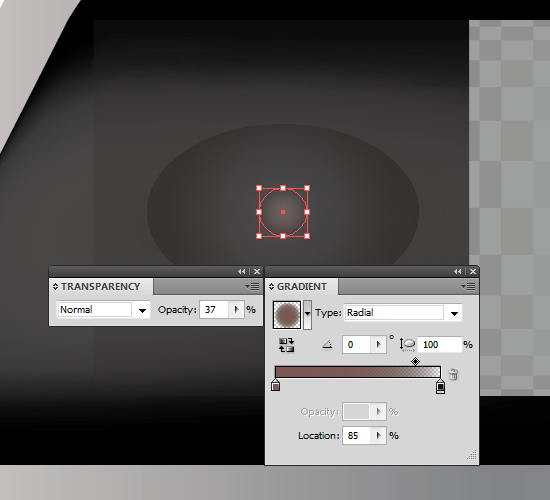
Create a circle that is 6px by 6px. Place it right in the middle of the oval. Open the Gradient panel and create a radial gradient. The inner color should be #7B5852 and the outer color should be at 0% opacity with the location set at 80%. In the Transparency panel set as 37%.
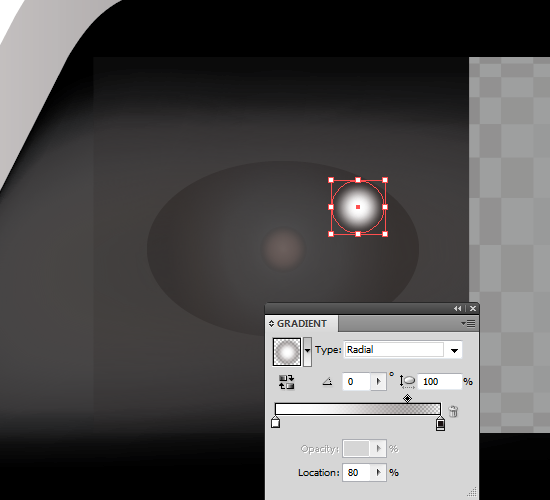
Create a circle that is 6px by 6px. Place it in the upper right corner of the oval. Open the Gradient panel and create a radial gradient. The inner color should be #FFFFFF and the outer color should be at 0% opacity with the location set at 80%.
Create a new layer and called it Flash. Set it below the Camera layer.
Set the Fill (X) color to #BCBEC0 with no Stroke (X). Using the Rounded Rectangular Tool, create a shape with the width of 262px by 222px height and corner-radius of 25px. Using the Direct Selection Tool, select the top left corner and move about 5px to the right. Select the top right corner and move about 12px to the left. Using the Direct Selection Tool (A), adjust the left bottom by minimizing the corner-radius. Set the X-value to 226px and Y-value to 116px.
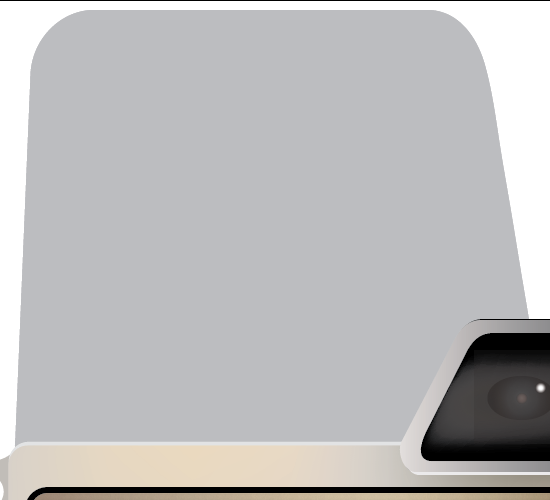
Copy and Paste to Front of shape. Change the Fill (X) to #BADDF0. Resize the width to 250px. Set the X-value to 221px and Y-value to 117px.
Copy and Paste to Front of shape. Change the Fill (X) to #5B7784. Resize the width to 249px and 220px height.
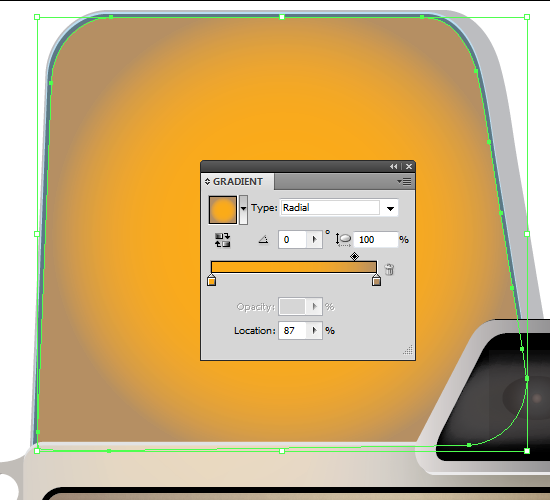
Copy and Paste to Front of shape. Resize the width to 245px and 217px height. Open Gradient panel. Create a radial gradient. The inner color should be set to #FBAB18 and the outer color set to #B28D62 at 87% location.
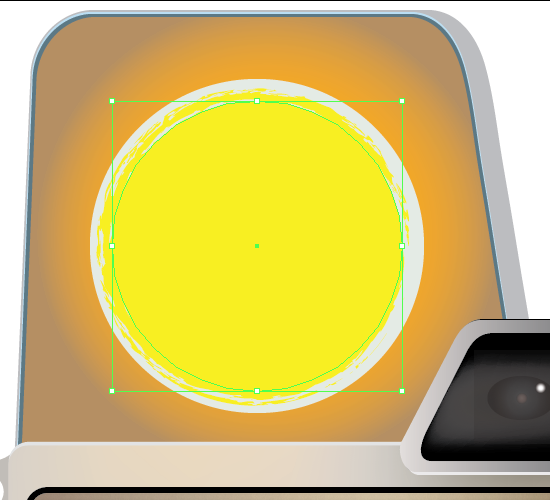
Set the Fill (X) to #E4E9E3. Create a circle using the Ellipse Tool (L) that is 167px by 167px. The X-value is 216px and the Y-value is 123px.
Copy and Paste to Front of circular shape. Change the Fill (X) and Stroke (X) color to #FFF200. Set the Brush Definition to Chalk-Scribble. Resize the circle to 145px by 145px.
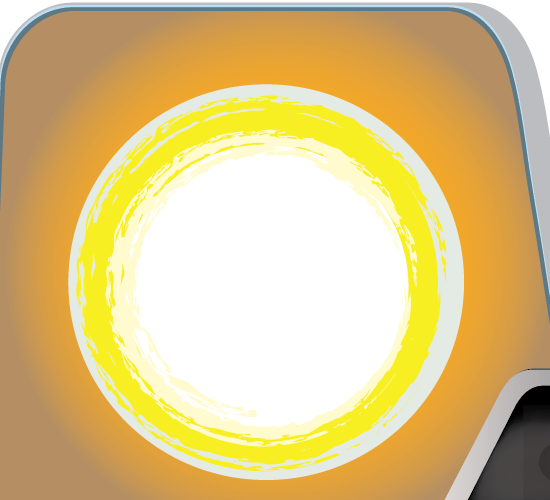
Copy and Paste to Front of circular shape. Change the Fill (X) color to #FFFFFF and Stroke (X) color to #FFFDE3. Resize shape to 120px by 120px.
Select the Camera layer.
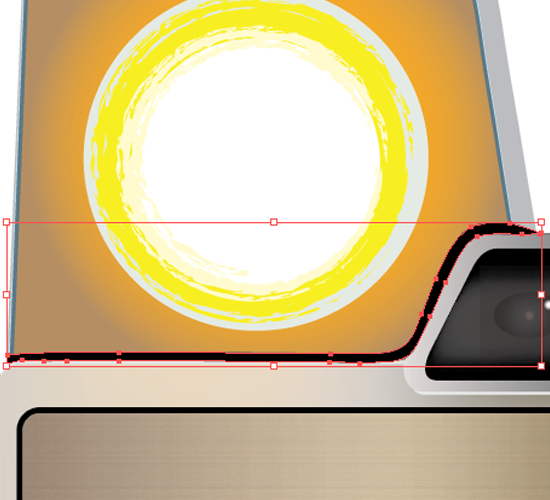
Between the connecting Flash layer and Camera layer, create a thick black border using the Pen Tool (X). Make sure that both ends have a pointed tip. Use the Smooth Tool to clean up jagged or awkward lines.
Still in the Camera layer, set the Fill (X) to #292728 with no stroke. Select the Star Tool and open the options box. Set the Radius 1 to 25px and Radius 2 to 23px with 70 points.
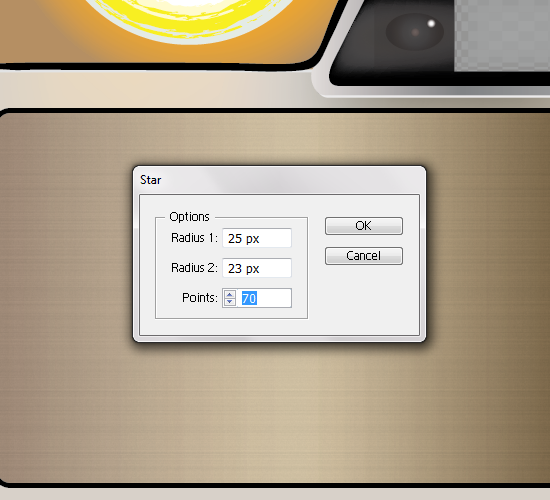
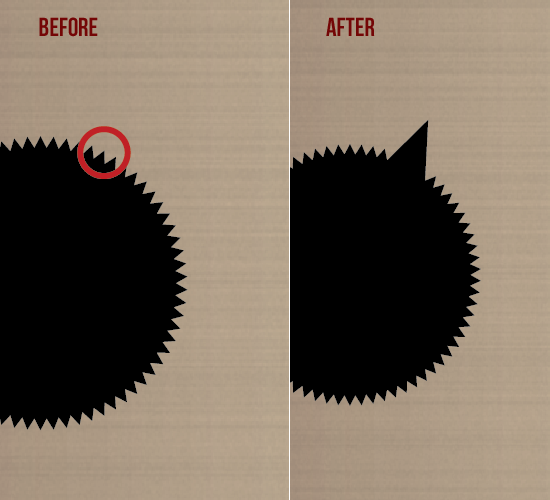
Using the Pen Tool (P) and the Direct Selection Tool (A), take four of the star points and turn it into one big point. Subtract all the anchor points with the Pen Tool (P) leaving only three. Drag the middle anchor point towards the flash bulb.
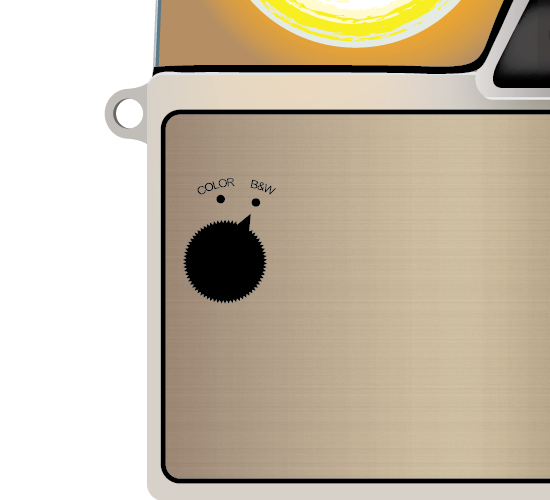
Add the two 5px by 5px circles with a Fill (X) color of #000000, and the words “COLOR” and “B&W” written above the dots.
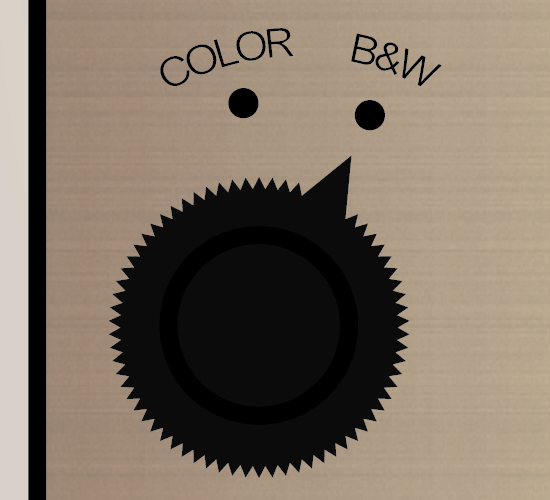
Create a circle with no Fill (X) and a Stroke (X) color of #000000 with a weight of 3px to the middle of the dial.
Create a new layer and call it Lens.
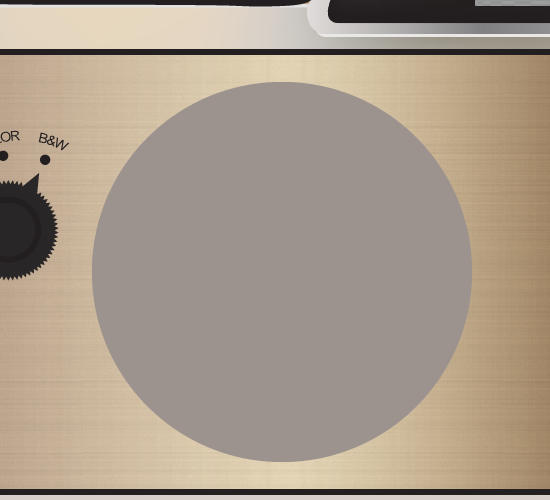
With the Elliptical Tool (L) selected, create a circle with the dimensions 190px by 190px. Fill (X) color is set to #9D938E with no Stroke (X). X-value is 275px and Y-value is 355px.
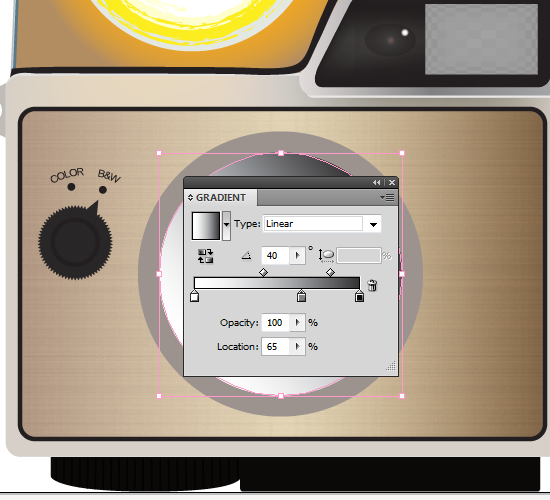
Copy and Paste to Front of circular shape. Resize shape to 162px by 162px. Open the Gradient panel and set a linear gradient. At an angle of 40°, set the three gradient colors to #FFFFFF, #939598, and #000000.
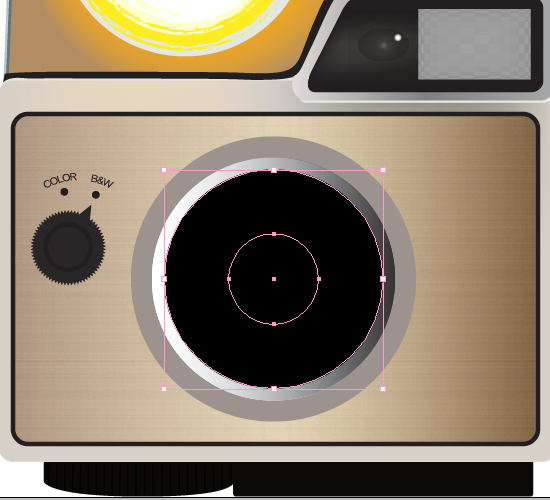
Copy and Paste to Front of gradient circular shape. Change the Fill (X) color to #000000. Resize shape to 162px by 162px. Copy and Paste to Front the newly created circular shape. Change the Fill (X) color to #000000. Resize shape to 60px by 60px. Select both black circles.
Double-click on the Blend Tool (W) to open up the options box. Choose Specified Steps as the spacing and 30 as the number of steps. Keep the orientation as default. Click OK. Make the blend (Object>Blend>Make>, expand the blend (Object>Blend>Expand), and then ungroup the objects.
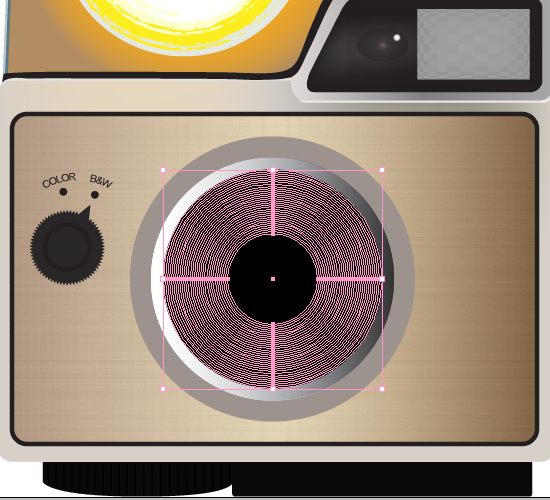
Go in the freshly created blend and select every other circle. Open the Gradient panel, and choose radial gradient with the angle at 67°. Create following three gradient colors in this particular order: #000000, #292728, #000000.
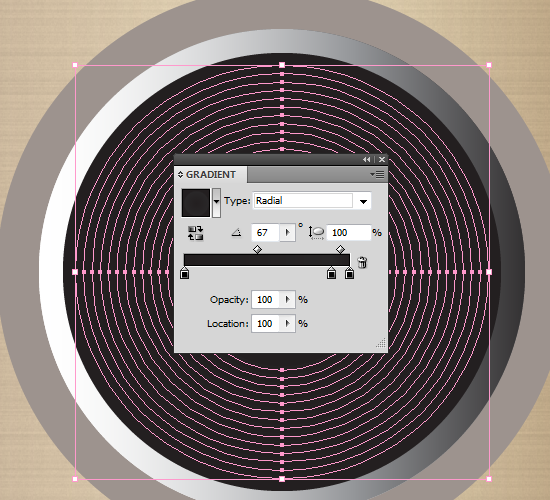
Open the Gradient panel and set a radial gradient. Set the three gradient colors to #000000, #292728, and #000000.
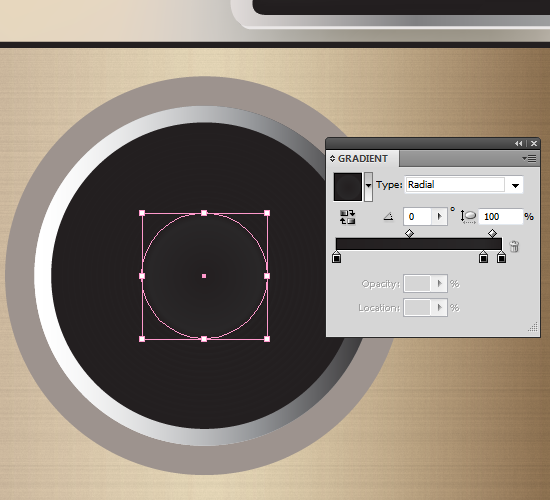
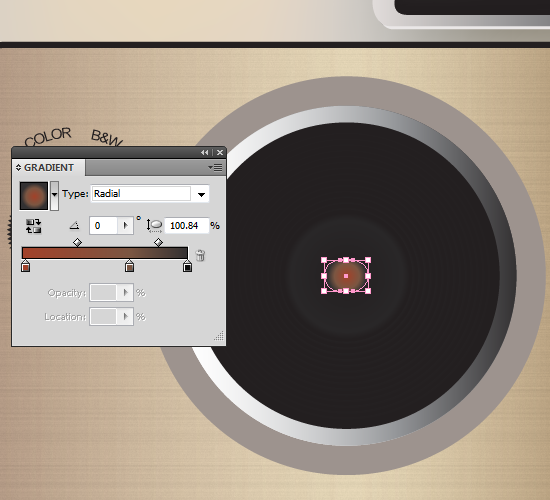
Placed in the middle of the lens, create an oval shape with the size 21px by 15px. Open the Gradient panel and set a radial gradient. Set the three gradient colors to #A2432B, #7C5744, and #333132.
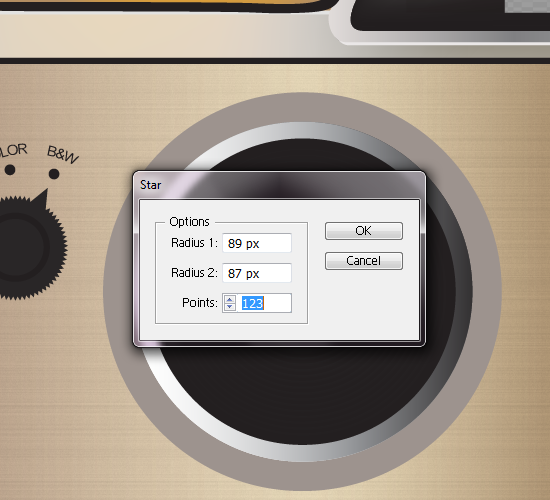
Set the Fill (X) color to #C4C3C3. Select the Start Tool, open the options box by clicking anywhere in the artboard. Type 89 for Radius 1, 87 for Radius 2, and 123 Points.
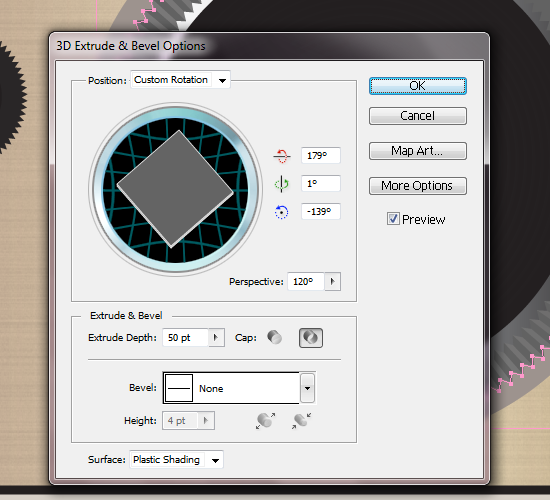
Select the Effect drop down menue and click on Extrude & Bevel… in the 3D submenu. Set the X-axis to 179°, Y-axis to 1°, Z-axis to -139°, the Perspective to 120°, the Extrude Depth stays 50°, and turn off the cap for hollow.
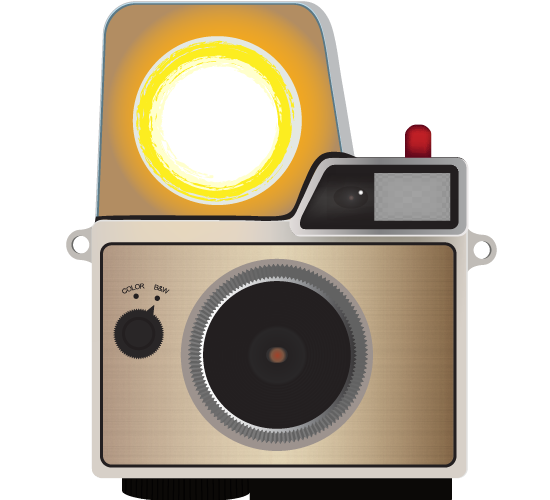
Final Result
Download AI File (Zip)
Vintage Camera Tutorial (Part 1) | Vintage Camera Tutorial (Part 2)

