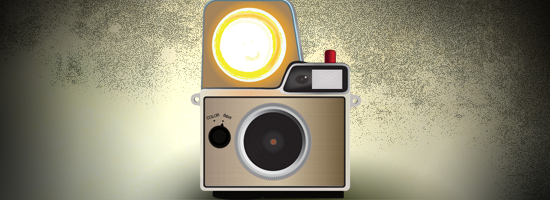
In the next step to the Vintage Camera Tutorial, we will be using more advanced Illustrator tools. Beginning with the Mesh Tool, then use a bit of Effects, and end with some Gradients. Back to the grind!
Select the Mesh Tool (U). Add a Mesh Reference Point to the left side in the middle of the rounded rectangular.
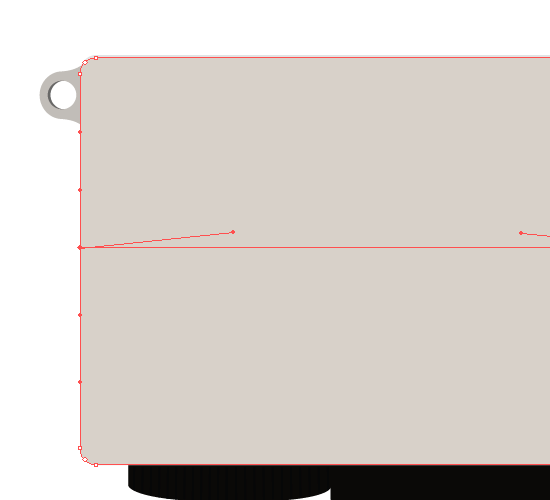
Create three new Mesh Reference Points along the middle Mesh line approximately 90px apart.
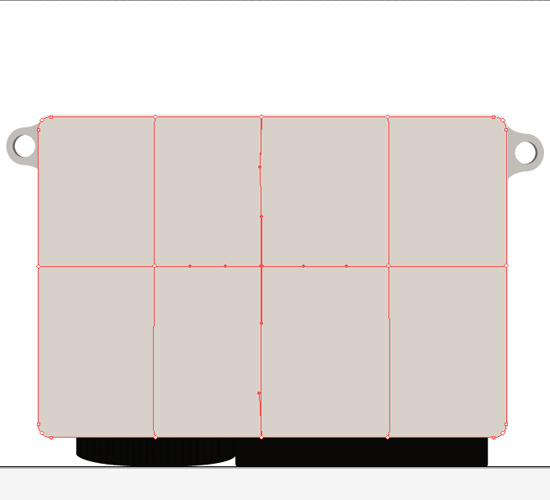
Using the Direct Selection Tool (A), select the first top Mesh Reference Point. Change the Fill (X) color to #E9D8BF.
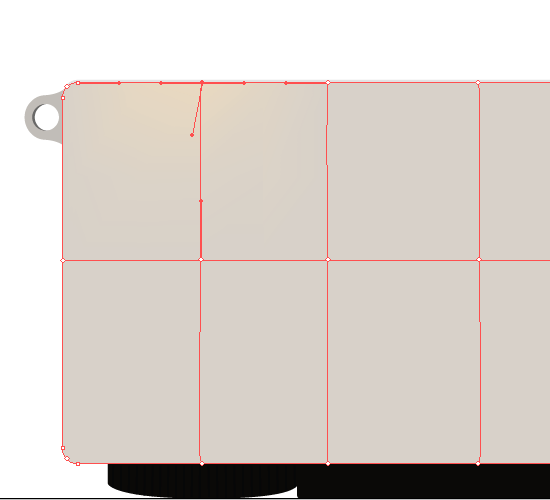
Adjust the Reference Point anchors to expand the reach of the color.
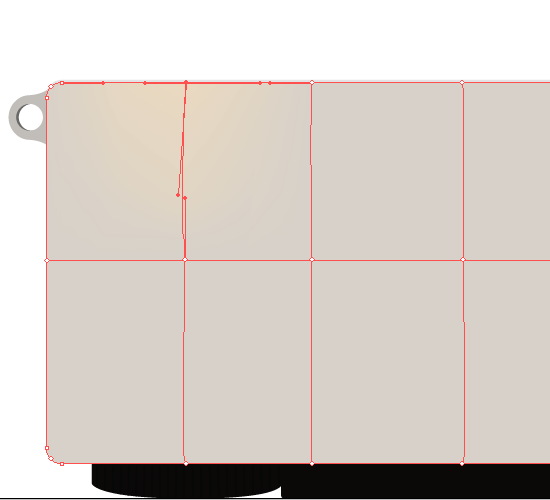
Select the last Mesh Reference Point at the top and change the Fill (X) color to #767161.
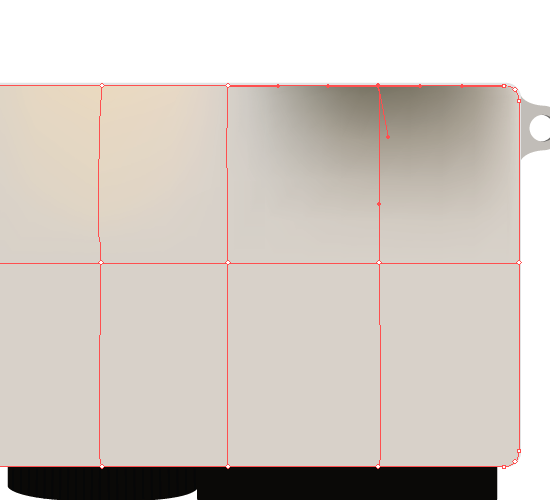
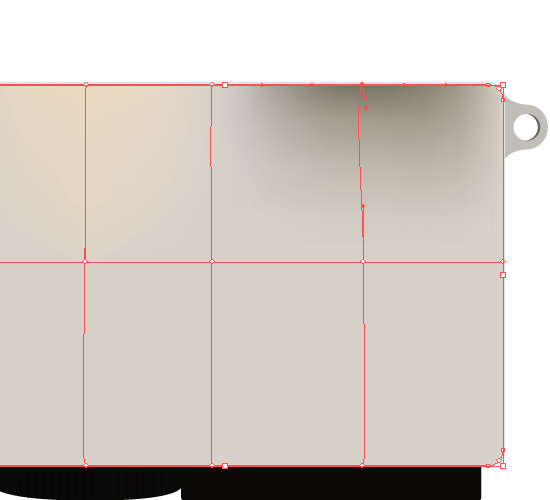
Adjust the anchors to decrease the span of the Mesh color.
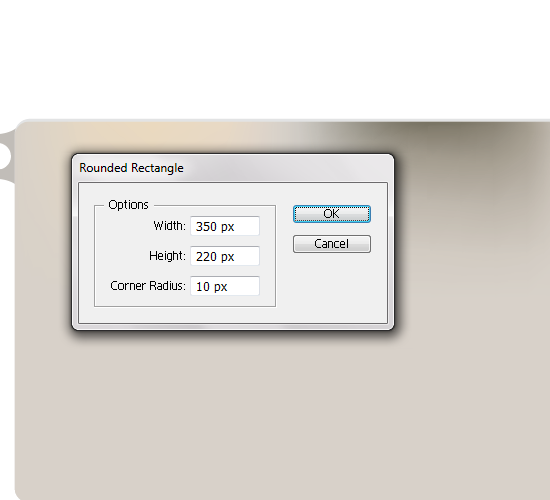
Choose the Rounded Rectangular Tool. Click anywhere in the artboard to open the options box. Set the width to 350px, height to 220px, and corner-radius to 10px.
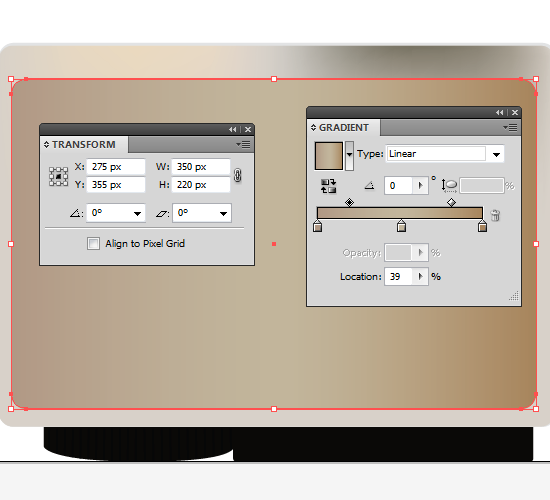
In Transform panel, set the middle Reference Point X-value to 275px and the Y-value to 355px.
Open up the Gradient panel to set the three colors. First gradient color is #AF9783 and set the top Gradient Slider location at 39%. Add a middle gradient color and set it to #C2B59B with the other top Gradient Slider location set to 62%. The third gradient color should be #A5835B.
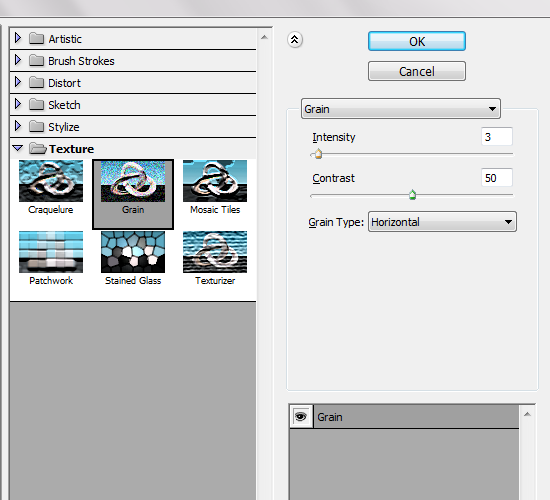
In the Effect menu, choose the Textures submenu option Grain. The intensity should be set at 3, the contrast is 50, and horizontal grain type. Press OK.
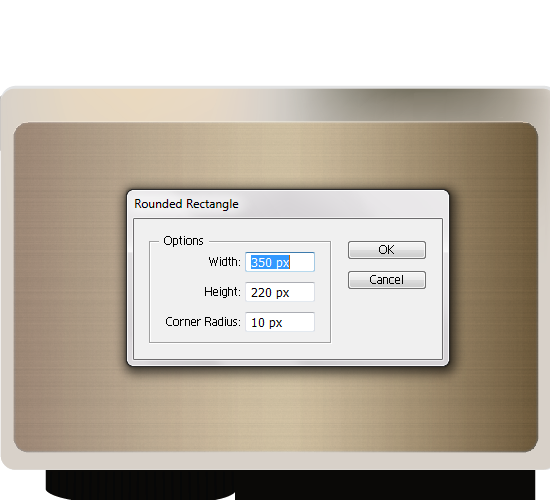
Set the Stroke (X) color to #000000 with no Fill (X) and the stroke weight to 3px. Choose the Rounded Rectangular Tool. Click anywhere in the artboard to open the options box. With a width of 350px, height of 220px, and a corner-radius of 10px.
Set the Fill (X) color to black with no Stroke (X). Create another Rounded Rectangular that is 177px wide by 77px height with a corner-radius of 10px.
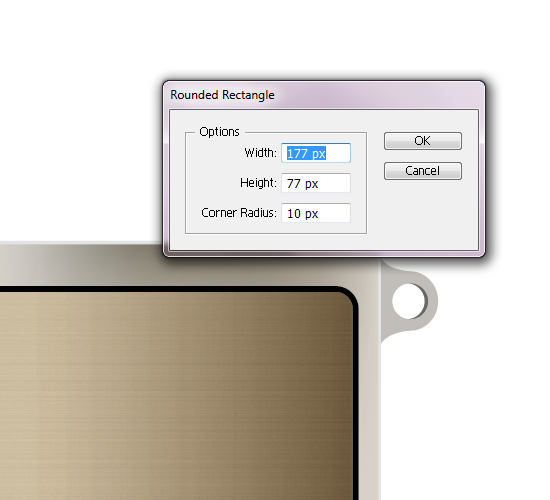
Set the shape at 375px X-value and 198px Y-value.
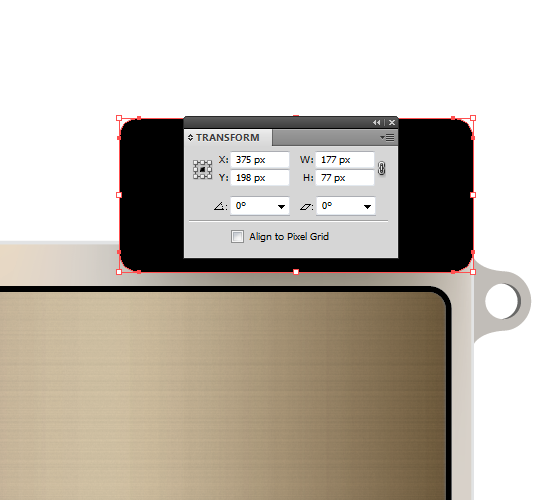
Using the Direct Selection Tool (A), select the top left points of the shape.
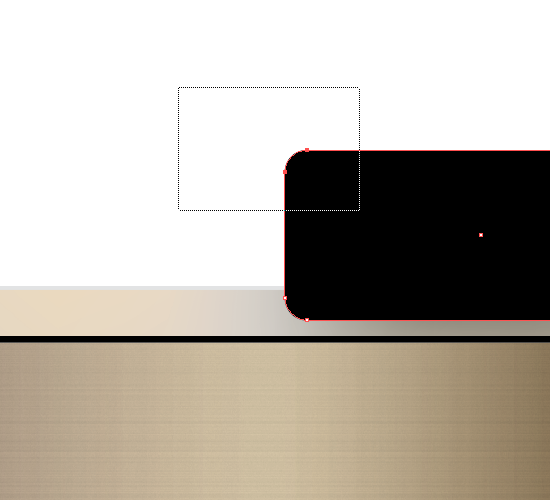
Move the points over 36px to the right.
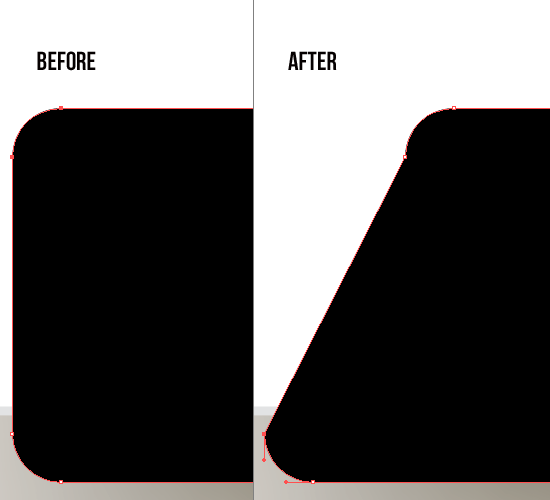
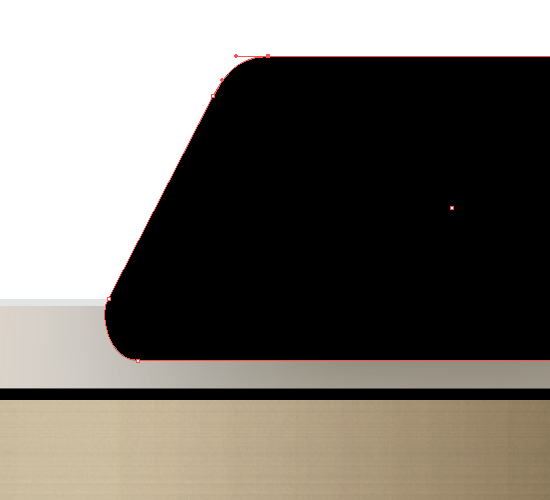
Using the Direct Selection Tool (A), adjust the grooves in the shape by moving the anchor to a straight position.
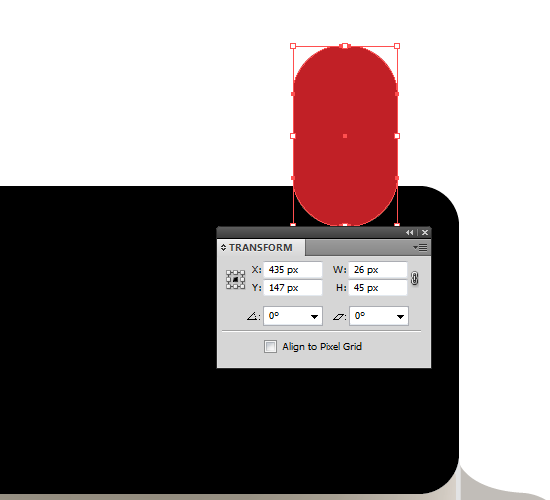
Set the Fill (X) color to #AD1D26 with no Stroke (X). Create a new Rounded Rectangular that is 26px wide, 45px height, and a corner-radius of 12px.
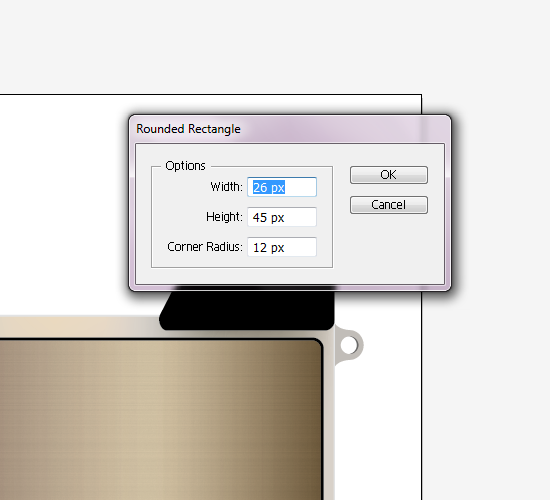
Set the object X-value to 435px and Y-value to 147px.
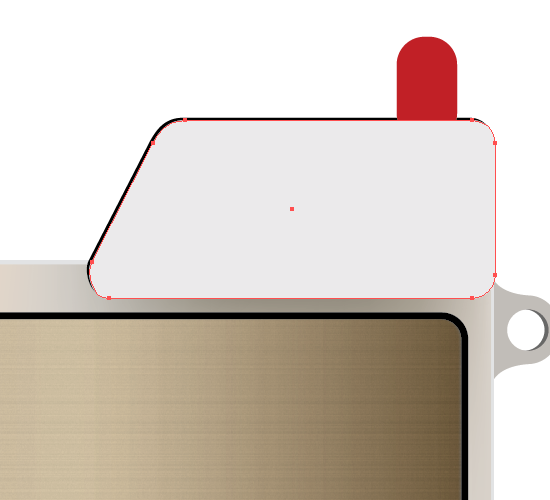
Select the black shape. Copy and Paste to Front. Change the Fill (X) color to #EAE8E8. With your arrow keys, move the new object 1 key down and to the right.
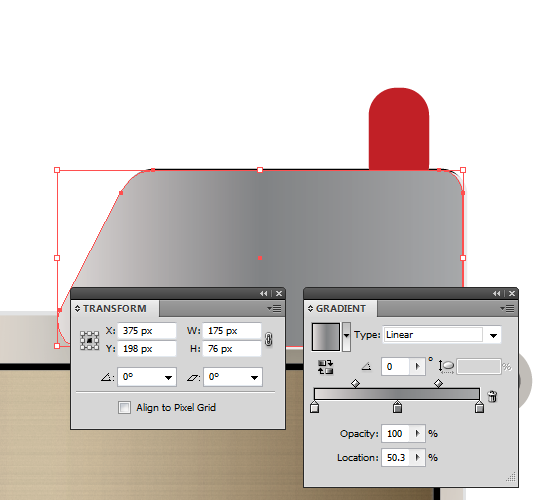
With the new object still selected Copy and Paste to Front a new object. Set the X-value to 375px and the Y-value to 198px. Open up the Gradient panel and set the three colors from left to right: #E2DDDB, #808183, #A7A8AA. Bring object to the front (Object>Arrange>Bring to Front).
Copy object and Paste in Front. Set the width to 160px and the height to 67px. Set the Fill (X) color to #000000.
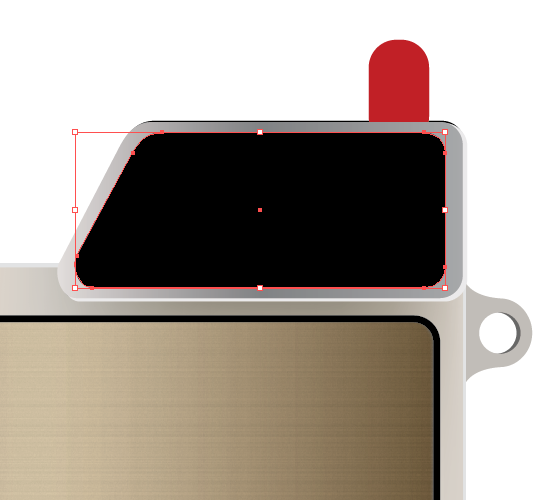
Coming up in Part Three: More Blend Tool and 3D Effect!
Vintage Camera Tutorial (Part 1) | Vintage Camera Tutorial (Part 3)

